
Antiquing a mirror is not as hard as it seems.
There are many techniques to use. This is just the one I use and like the look of.
You can buy kits on line for antiquing, but they are very expensive and toxic. You can buy different formulas to get the look you want. Like I said there are many ways to do it.
I had an old door I picked up from a salvage yard and I wanted to put a mirror in it for my entry way.
So I took the glass out and bought some mirror the same size as the glass panels.
I have a connection at a glass place because I buy a lot of glass and mirror, so I get a great discount. I think I paid around $40.00 for all 6 panels.
When you buy new mirror it comes with a grey or brown painted backing.

This needs to be stripped so that you can get to the silver.
I use a paint stripping product that is safe for the environment, but you can use whatever brand you want.

I use a paint brush to paint the stripper on. (no not that kind of stripper)
Then I let it sit until paint starts to bubble.

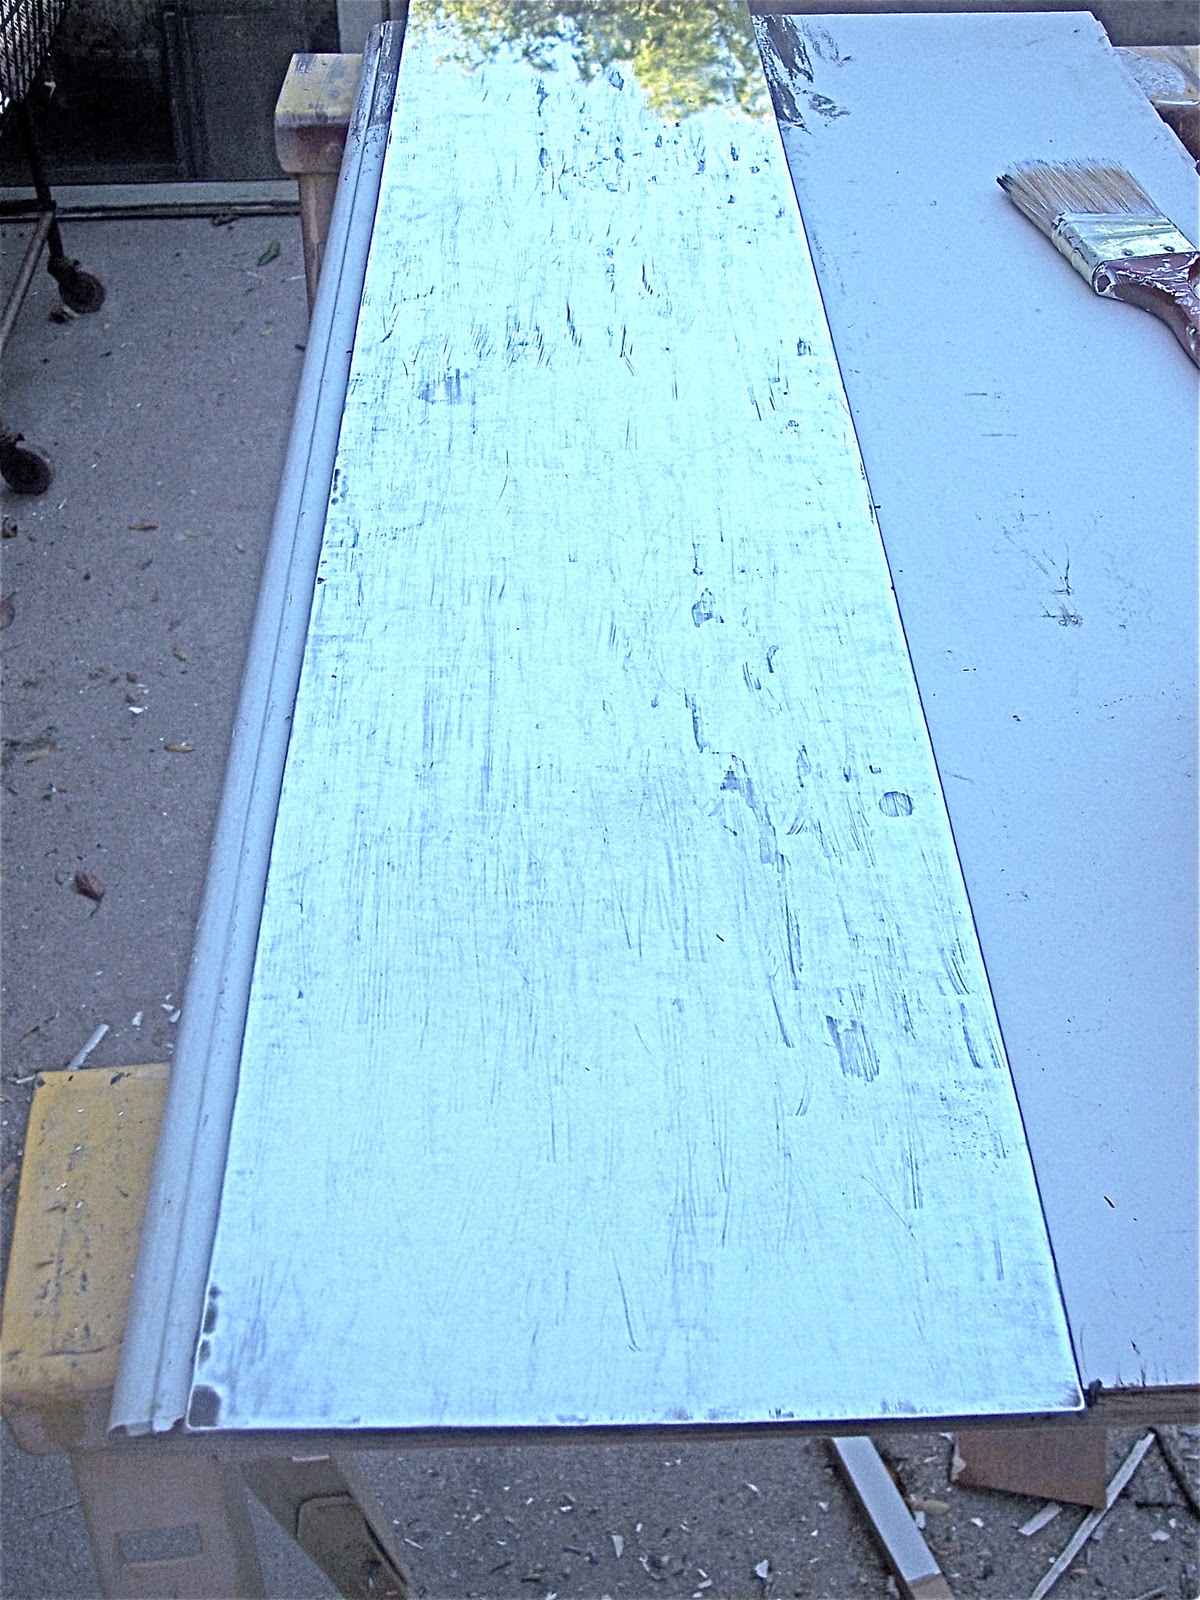
I then start to scrape off the paint. This starts to show the silver of the mirror.

This is what it looks like on the front side of the mirror after the paint has been removed and the rest of the stripper has been rinsed off.

Now if you want to and you like the look you can leave it just like this. In the stripping process some of the silver will come off with the paint. So if this is just the look you want, stop. I like it a little more "antiqued" so I keep going.
I then take the sander to it. I use a very fine grit paper, like 220 or higher. Just remember that if you do use a rough grit sand paper it will remove a lot of the silver.

As I am sanding I keep checking the front to see if it is enough for me and if I am liking the look.
This is the sanded mirror on the back.

This is the sanded mirror on the front.
So after I get the silver off as much as I like, then I do the final step. Now depending on how you want it look, there are a couple of ways to finish this off.
- If you like all of the silver gone and want to be able to see through the mirror, as in holes in the silver, then do nothing. You are finished.
- You can paint the back grey again.
- You can paint the back brown, this gives it a sepia tone effect.
- You can paint it blue, sort of a light turquoise color. Blue mirrors are in high demand.
- You can paint it black, for a dark antique look.
I personally like the dark effect, so I paint mine black on the back, then I seal it with a matte finish spray you can get at the craft store or a polyurethane spray.
I put the mirror panels back into the frame the same way I took them out. I try to make the mirrors look as "naturally old" as possible, so I have been know to brake them so they look even older and have "been through a lot". But you can do whatever you want, that is the beauty of DIY and old looking things.

This is after the back has been painted black.

Close up!

This is a close up of the "oldness" of the mirrors. LOL

And here is the finished product in my entry way! Love, Love, Love it!!!!!
Wow what an awesome project!Really like your blog!
ReplyDeleteYou did an amazing job with this. I love love love original art such as this...Must make a huge statement in your entry way...
ReplyDeleteTake care,
Lisa
this is gorgeous!! I love it
ReplyDeleteLove anything done with mirrors! Very nice.
ReplyDelete~Pam
All that chippy and worn goodness in one area would have me swooning at it every time I did a walk by! Love it! This piece sure is a great fix for filling up a huge expanse of drywall with instant charm.
ReplyDeleteThat's IT! I'm going to go get that mirrored vintage door I found a week ago. :)
Donna
http://funkyjunkinteriors.blogspot.com/
Love it, and would love to have one just like it!!
ReplyDeleteNot only do I love the age but the fact your turned a door into a mirror. I am sooo stealing this idea!
ReplyDeleteLove it!! I had no idea how to do this so thank you for the tutorial :O)
ReplyDeleteSo glad I found you today through The Lettered Cottage's linky party.
BRILLIANT! I've never been able to get it quite right...thank you!
ReplyDeleteThanks for the tutorial. I like the look!
ReplyDeleteDropping by from How To's Day. Hope you'll come see DD2's picture wall we did for her.
Allison
Atticmag
AWESOME job! That was a lot of work....but SO worth it! The end result is fabulous! :)
ReplyDeletexoxo laurie
Gorgeous!
ReplyDelete